Tips for repairing a wood floor
SERVICES MENU
eSTABLISHED IN 1995
We set up our business in 1995. We are Members of The Guild of Master Craftsmen and take pride in our work. These days we take extra care when it comes to health and safety.
Our specialist teams, have an impressive breadth of experience, offering you the most professional service in our industry.
Our heritage
We draw on over 30 years of Floor Sanding experience, successfully managing and expanding our business as well as our customer base for the repeat business.
Our Promise
To deliver a 1st class service that remains highly competitive, we know we must constantly evolve and develop our products and services to stay ahead of our competitors.
No hidden extras with our quotes
We have qualified and experienced estimators that cover the south east of England. Our services teams work from our head office in London.
Technology
Because we are part of the “FLOOR SANDER HIRE GROUP”, our buying power and insight to the latest up to date machinery is what keeps us apart from our competitors. We boast more professional machinery than any other company in the UK.
wHY cHOOSE DOCTOR WOOD
- Over 25 years experience
- London and home counties
- Minimal dust
- Quality assured
- Night time availability
- Experienced certified staff
- Strong commitment to delivering the best service
- To arrange a free, no-obligation on-site consultation contact us today!
Tips for repairing a wood floor
Are you tired of looking at the unsightly blemishes on your floor? Is the prospect of a total renovation intimidating? Have you considered repairing the damaged areas first, before embarking on a costly and time-consuming renovation? Whether it’s a hole, crack, scratch, or stain, some flaws can be hidden with simple and effective tricks worth trying before making any drastic changes.
Fortunately, we have compiled a list of useful tips to assist you in repairing your floor and making it look like new again. Don’t let those flaws bother you any longer; take action today with our expert advice and guidance. You can restore the beauty and functionality of your floor without breaking the bank with our assistance. So, why delay? Check out our advice and begin repairing your floor right away!
Holes and cracks: repairing a floor with wood paste
Solid wood flooring develops holes and cracks over time… and they are not as easy to conceal as scratches! However, if the holes or cracks are no deeper than one centimetre, there is no need to redo everything. A wood filler or wood paste in a color similar to the wood floor is used in this case. It is applied directly to the hole or crack to be filled, using a spatula and smoothing thoroughly.
Allow to dry completely before lightly sanding with fine-grained sandpaper to achieve a smooth surface, vacuuming up the residues, and, if necessary, touching up the color with a wax or varnish. Is it necessary to repair a deeper crack in the floor? Another tip is to partially fill it in with wood shavings before applying the paste or filler to the floor.
Filling the gap with a flipot to repair a floor
Do gaps between the boards appear as the wood ages? While it’s true that this happens frequently, it’s not exactly aesthetically pleasing. The pros use flipots to repair the floor, which are small pieces of wood that are inserted directly into the cracks to fill the holes. Be cautious, we’re talking about a 5 to 7 mm gap between the boards here, not a subtle crack. In all cases, the flipots must be of the same or very similar wood species as the floor being repaired, cut to the length of the slot, slightly bevelled, and slightly wider. To put it differently, if you lack experience in cutting materials, it may be wise to consider enlisting the services of a skilled carpenter.
What’s the next step, you might ask? Well, initially, the slot undergoes a comprehensive cleaning process to eliminate any traces of dust or debris. Then you glue it, insert the thinnest part of the flipot, and press it in as far as possible with a mallet. Wipe away any excess glue, then plane it down and finish with a light sanding with very fine sandpaper. If there is a color difference or excessive sanding, a wax or stain may be required.
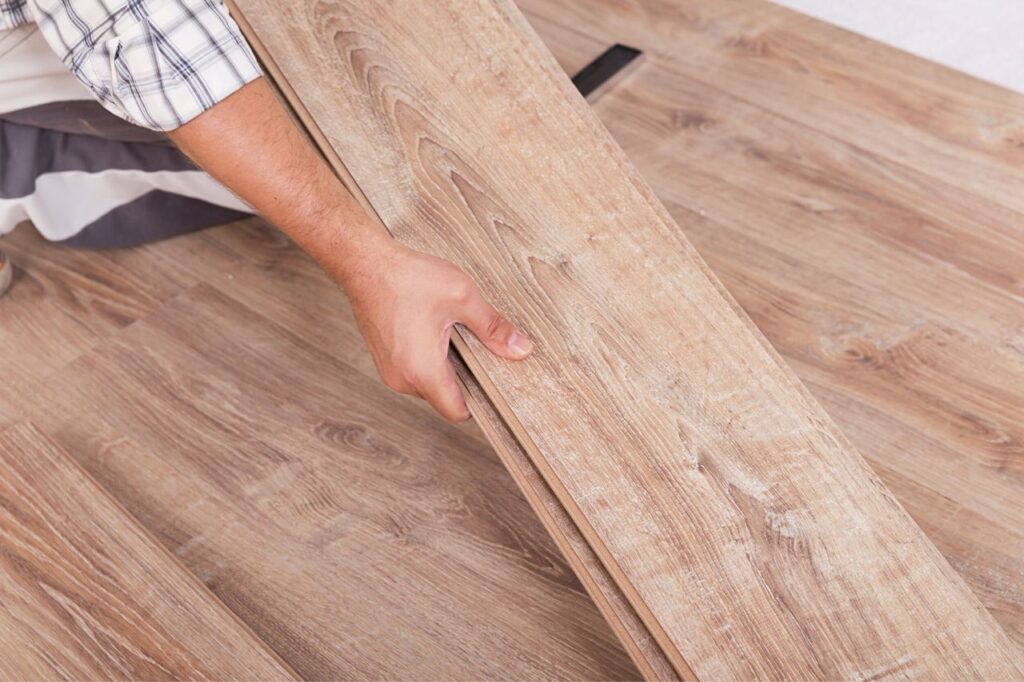
Repairing a floor by replacing a board
The task is more difficult, but not unachievable for those equipped with the necessary tools and knowledge. To repair a floor that has been damaged, a board or part of a board must be replaced. It is sufficient to remove the entire board if it is no longer supported. If this is not possible, the damaged part is first cut out with a jigsaw or peeled off with a chisel until it can be removed. To repair a solid wood floor, new strips are screwed into the gap at each end, which will support the new floorboard.
Glue will suffice in the case of glued parquet. Is it finished? You must now locate a comparable floorboard. If the color can be corrected, the wood species must be kept the same, and the new board’s thickness must be the same as the old one. It can be nailed down to the glued battens with headless nails or man-head nails for solid parquet. A layer of glue is applied before the board is laid in glued parquet. After drying, a light sanding smoothes out any imperfections before finishing with waxing or staining as needed.
While repairing minor flaws in your floor can be a do-it-yourself project, it’s important to note that some issues may necessitate the services of a professional. In some cases, attempting to repair a floor without the proper knowledge or tools can result in more damage and cost you more money in the long run.
That is where our experienced team of professionals comes in. Our team is well-equipped and possesses the necessary expertise to effectively tackle the most challenging floor repair projects with ease. By entrusting us with your floor repairs, you can be confident that the job will be completed correctly the first time and with minimal disruption to your daily routine.
Refurbishing an old wood floor this way can also be done by the Doctor Wood experts, who have been doing this work since 1995.
They truly take pride in their work. You can check out the reviews to see that for yourself.