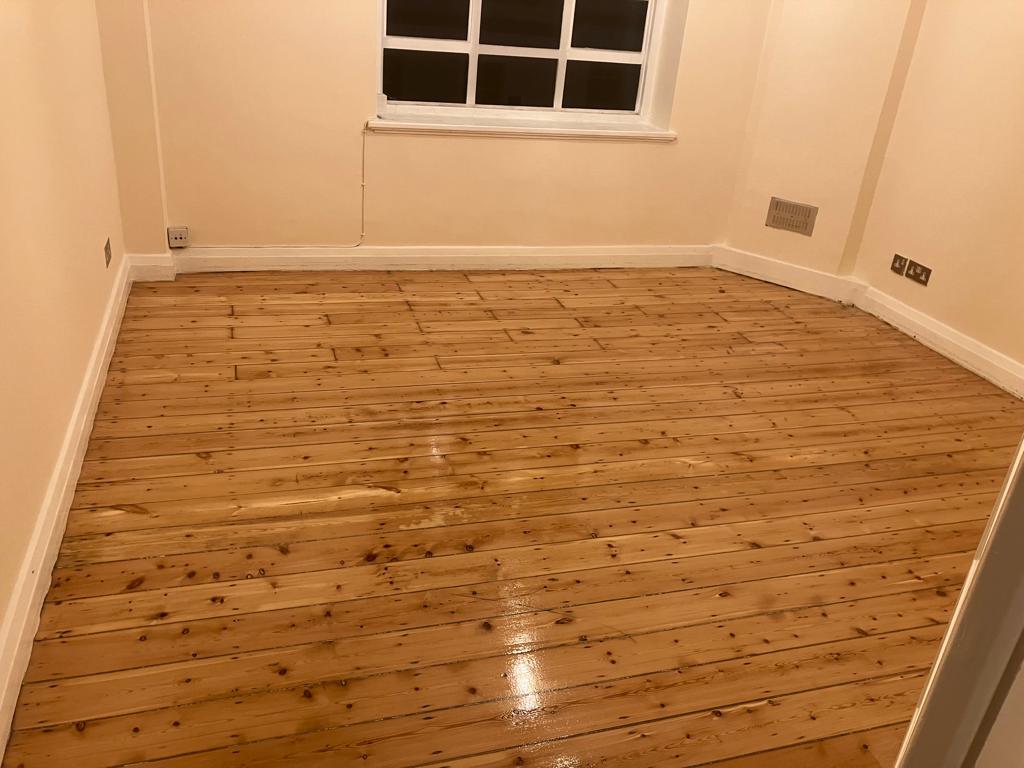
Are your wooden floors looking dull, scratched, or worn-out? Perhaps it’s time for a floor refurbishment! Revitalising your floors not only enhances your home’s aesthetic but also increases its value. With the right techniques, your floors can be restored to their former glory, bringing warmth and elegance to your home.
In this section, we’ll delve into the art of floor refurbishment, exploring the techniques and methods that will leave your floors looking beautiful and brand new. From assessing the condition of your floors to selecting the right coatings, you’ll discover how to create a symphony of wood that will impress all who visit your home.
Key Takeaways
- Floor refurbishment can transform your worn-out wooden floors into stunning focal points for your home.
- Proper assessment and preparation are crucial for achieving outstanding results in floor refurbishment.
- Sanding and polishing are two essential techniques that help eliminate imperfections and bring out the natural beauty of wood.
- Floor refurbishment not only enhances the aesthetics of your home but also increases its value.
- Routine maintenance and protective measures are essential for keeping your newly refurbished floors in top condition.
Assessing the Condition of Your Floors
Before beginning a floor refurbishment project, you need to evaluate the condition of your floors. Identifying signs of wear and tear, addressing minor repairs, and understanding necessary maintenance will ensure the longevity of your newly-refurbished floors.
Minor Repairs: Addressing scratches, dents, and cracks are essential to ensure a smooth floor surface and prevent further damage. After cleaning the floor, evaluate the extent of the damage, and determine if the repair is minor or major.
| Type of Repair | Description |
|---|---|
| Floor Scratch Repair | Use specialized wood filler to fix deep scratches or cut out damaged planks and replace them. Sand the surface to make sure the repair blends with the rest of the floor. |
| Dent Repair | Remove dents using a steam iron, warm water, or specialized repairs kits. If the dent is deep, remove the wood and replace it. |
| Crack Repair | If the crack is small, you can fix it using wood filler, but if it’s extensive, remove the affected boards and replace them with new ones. |
Identifying Signs of Wear and Tear: Look out for these signs that indicate a need for floor refurbishment:
- Worn-out finish
- Discoloration
- Scratches and dents
- Loose or squeaky floorboards
- Water damage
- Cupping or buckling of floorboards
- Worn-out edges or corners
Maintenance: Regular maintenance not only extends the life of your floors but also keeps them looking good. Some maintenance tips for wooden floors include:
- Vacuum or sweep your floors regularly to remove dust and grit that can cause scratches.
- Place rugs at entry points to reduce dents and scratches from shoes.
- Wipe spills immediately to prevent water damage or stains.
- Use only recommended cleaning products to avoid damaging the finish.
Regular maintenance and prompt repairs are crucial in ensuring your floor stays in optimal condition. In the next section, we will guide you through the proper preparation to achieve outstanding results in floor refurbishment.

Preparing for Restoration
Proper preparation is key to achieving outstanding results in floor refurbishment. Before applying any coatings, it’s crucial to ensure that the surface has been adequately sanded, and all old coatings have been removed. Start by clearing the room of any furniture, curtains, or other items that may get in the way during the restoration process. It’s important to take the necessary safety precautions, such as wearing a mask and eye protection, to avoid inhaling dust particles.
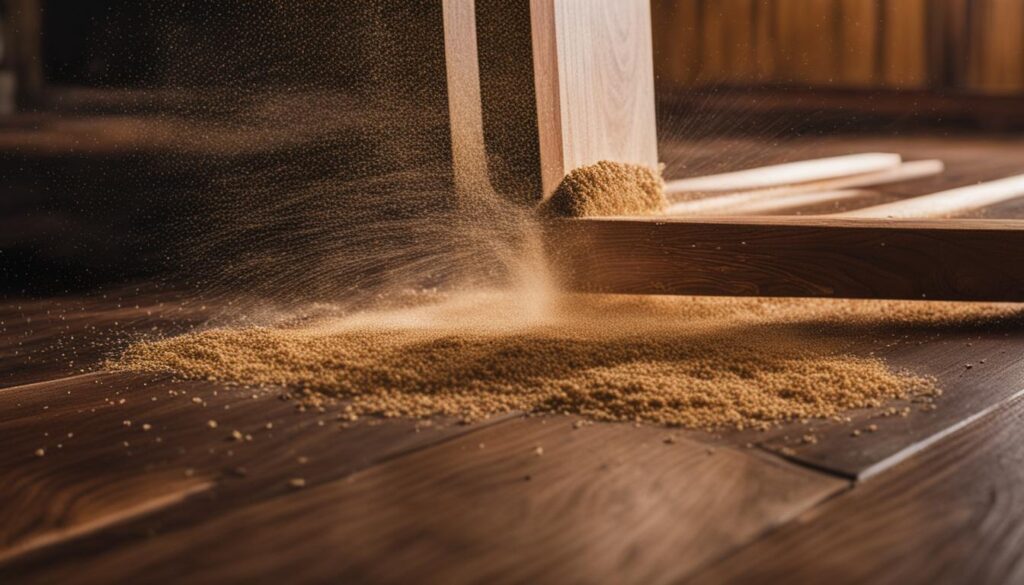
The Importance of Surface Sanding
The first step in preparing your floors for restoration is surface sanding. This process involves removing the top layer of the wood, which usually contains dirt, stains, and scratches, to create a smooth base for further refinements. Depending on the condition of the floor, you may need to start with coarse-grit sandpaper before graduating to finer grits for a finer finish.
Removing Old Coatings
Removing the old coating from your floors is essential for achieving an optimal result. This process involves using a special chemical or mechanical tool to strip away the old coating layer. The type of old coating will determine the method and tools required to remove it safely and efficiently.
| Chemical Coating Removers | Mechanical Coating Removers | |
|---|---|---|
| Pros | Effective on most coatings, Easy to apply, Minimal noise and dust, Fewer tools required | Effective on tough coatings, Less labour-intensive, Works on larger surface areas, Better suited for commercial settings |
| Cons | May require repeating, Can be messy and time-consuming, May require neutralising after application, Not ideal for inaccessible or detailed areas | Can damage wood if misused, Noisy and dusty, Requires a trained professional, May not be suitable for sensitive environments |
Selecting the Right Floor Coatings
Choosing the right coatings for your floors can make all the difference in the final outcome and longevity of your refurbishment. There are various types of coatings available, depending on your floor’s usage and the look you want to achieve. For example, water-based coatings are ideal for areas with high foot traffic, while oil-based coatings may be more durable and offer a warm amber glow.

Common Mistakes to Avoid
- Avoid using the wrong sandpaper grit: Always consider the state of your floor before choosing the grit
- Skipping grit size: Skipping grit sizes will lead to an uneven result and can ruin your floor’s final appearance and texture
- Sanding against the grain: Always sand parallel to the grain
- Applying too much pressure: Sanding should be done with enough pressure to remove layers, but not so much as to damage the floor
Remember, floor sanding is an essential process in floor restoration, and a critical step in achieving a beautiful, long-lasting finish that will stand the test of time.
Polishing to Perfection
Once your floors have been sanded and repaired, it’s time to polish them to perfection. Floor polishing is the final step in the floor refurbishment process, and it’s essential to know the right techniques and products to get the job done.
The key to polishing your floors to a mirror-like shine is to select the right polishing product. There are two main types of polish – wax polish and polyurethane polish. Wax polish tends to be more traditional and adds a warm, natural glow to the wood. Polyurethane polish, on the other hand, dries to a tough, clear finish that’s highly durable and easy to maintain.
Before applying polish, it’s crucial to ensure that your floors are free from dust and debris. Any dirt or grime can get trapped in the polish, causing grittiness and abrasions on the surface. Use a soft-bristled brush or vacuum to clean the floors thoroughly.
When polishing your floors, always apply the polish in the direction of the grain. This technique ensures an even coating and prevents streaking. Apply a thin coat of polish, allow it to dry thoroughly, and then buff the surface using a floor polisher to create a high-gloss finish.
It’s essential to polish your floors regularly to maintain their shine and protect their surface. Use a microfiber mop and a mild cleaning solution to keep your floors looking their best. Avoid using harsh chemical cleaners or abrasive materials that can damage the surface.

Don’t Give up on Old Floors
Thanks to floor refurbishment, you don’t have to give up on your old floors. With the right techniques and products, you can restore the beauty and shine of even the most worn-out floors. So don’t let your old floors bring you down. Get started on your floor revitalisation journey today.
Maintaining Your Newly Refurbished Floors
Congratulations on your newly-refurbished floors! You’ve made an excellent investment, and now it’s time to learn how to care for and maintain them to keep them looking new for years to come.
Regular floor maintenance is essential to protect your investment. A few simple tips will help keep your floors looking pristine:
- Vacuum or sweep your floors regularly to remove dirt and debris that can scratch the surface. Use a soft-bristled attachment to avoid scratching.
- Wipe up spills immediately to prevent staining.
- Use a damp mop when necessary, but avoid using excessive water, which can damage the floors.
- Place mats at entrances to prevent dirt and grit from getting tracked onto the floor.
- Use furniture protectors, such as felt pads, to avoid scratches and marks caused by moving furniture.
When it comes to cleaning, always use cleaning products specifically designed for hardwood floors. Avoid harsh chemicals, oil soaps, and ammonia-based cleaners as they can damage your floors.
To protect your floors against scratches and scuffs, consider floor refinishing every few years. Refinishing will not only restore the floor’s shine but will also repair any surface damage and prolong the floor’s life.
By following these simple tips, your newly refurbished floors will remain in beautiful condition for years to come.

Conclusion
So there you have it, a comprehensive guide to floor refurbishment that will help you revitalise your wooden surfaces. By assessing the condition of your floors, properly preparing them, and using expert techniques like sanding and polishing, you can bring out the natural beauty and character of your home’s floors.
Remember, the key to maintaining your newly refurbished floors is routine maintenance and care. Regular cleaning, protective measures, and occasional touch-ups can help your investment stand the test of time.
With this guide, you’re now equipped with the knowledge and techniques to transform even the most worn-out surfaces into stunning focal points in your home. Let the symphony of wood take centre stage and enjoy the beauty and warmth that refurbished floors can bring to your space.
FAQ
What is floor refurbishment?
Floor refurbishment refers to the process of restoring, renovating, and rejuvenating worn-out or damaged wooden floors. It involves various techniques such as sanding, polishing, repairing, and applying protective coatings to bring back the floor’s natural beauty and extend its lifespan.
How can floor refurbishment benefit my home?
Floor refurbishment offers several benefits for your home. It revitalizes the appearance of your floors, removing scratches, stains, and signs of wear and tear. It also enhances the overall aesthetics of your space, making it more appealing and inviting. Additionally, floor refurbishment increases the value of your property and extends the lifespan of your floors.
Is floor refurbishment suitable for all types of wooden floors?
Floor refurbishment techniques can be applied to most types of wooden floors, including hardwood, engineered wood, and parquet. However, the specific process and techniques may vary depending on the type of wood and its condition. It is recommended to consult with a professional floor refurbishment specialist to assess the feasibility and requirements for your specific floor.
How long does a floor refurbishment project typically take?
The duration of a floor refurbishment project depends on several factors, including the size of the area, the extent of damage, and the specific techniques involved. Generally, smaller projects can be completed within a few days, while larger areas or more complex refurbishment requirements may take longer. It’s advisable to consult with a professional to get an accurate estimate for your specific project.
Can I do floor refurbishment myself, or should I hire a professional?
While minor maintenance tasks such as cleaning and polishing can be done by homeowners, floor refurbishment projects typically require professional expertise. Professionals have the knowledge, experience, and specialized equipment to handle intricate tasks like sanding, repairing, and applying protective coatings. Hiring a professional ensures high-quality results and minimizes the risk of damage to your floors.
How often should I refurbish my floors?
The frequency of floor refurbishment depends on several factors, including the type of wood, foot traffic, and regular maintenance. In general, it’s recommended to refurbish wooden floors every 5-10 years, or when signs of wear and tear become noticeable. Regular maintenance, such as routine cleaning and protective measures, can help extend the time between refurbishments. Consulting with a professional can provide specific guidance for your floors.
What is the cost of floor refurbishment?
The cost of floor refurbishment varies depending on factors such as the size of the area, the condition of the floors, and the specific techniques required. Additional costs may include repairs, replacement of damaged sections, and the type of protective coatings used. It’s best to obtain quotes from multiple professionals to compare prices and services. Keep in mind that investing in high-quality refurbishment can increase the value of your property and provide long-term benefits.